Blog
How to create an instructional video with your smartphone
Step 1: Understand Shot Sizes
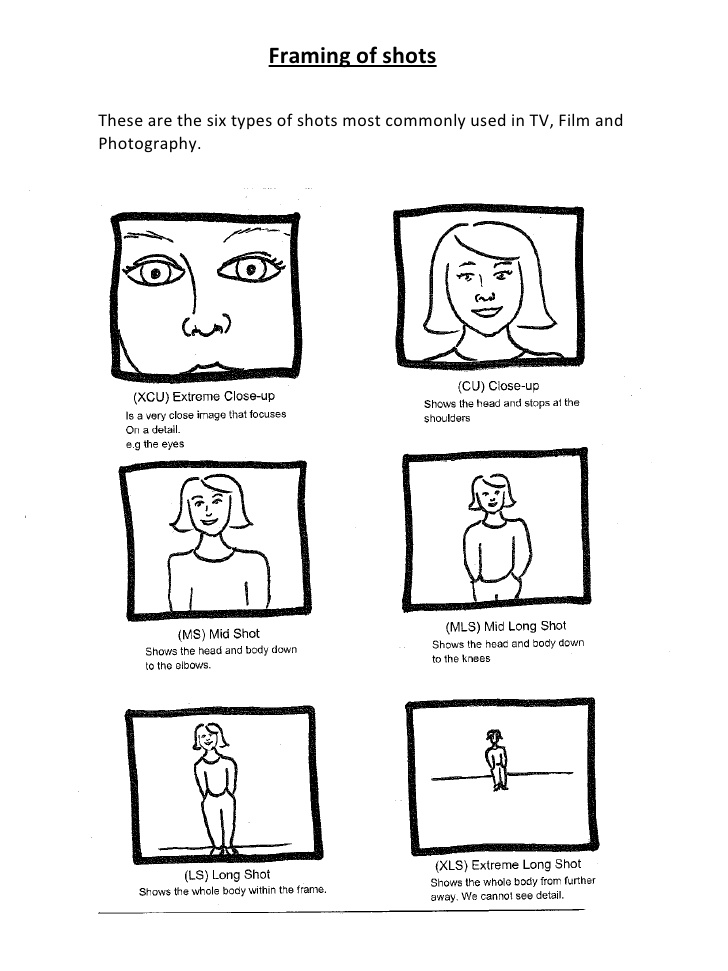
First get familiar with how to frame shots. Normally, like TV Ads and News Footage, you’d start with a Long Shot (LS) then cut to a Mid Shot (MS) and then go in for a Close Up (CU) and so on. Here’s some examples of Shot Sizes:
Step 2: Create a simple Shot List
Keep this as simple as possible to start with. In the example below I’m doing a mock tutorial on how to make a hot Chai beverage.
Title: How to a make a Chai hot beverage
Shot 1: Introduction
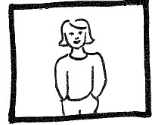
Framing: MLS
BGM: No background music
Description: Describe that we’ll be making a hot Chai beverage that tastes similar to the Chai Lattes you buy in cafes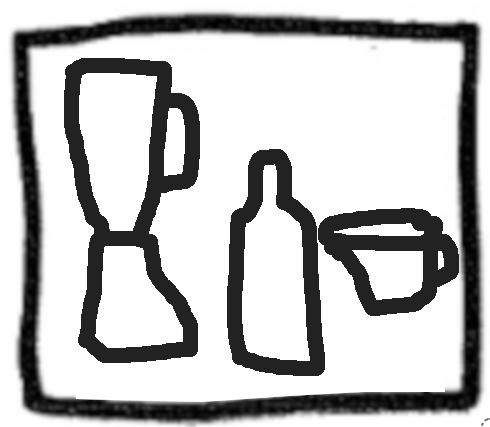
Shot 2: Describe ingredients
Framing: CU
BGM: No background music
Description: Show what ingredients and appliances we need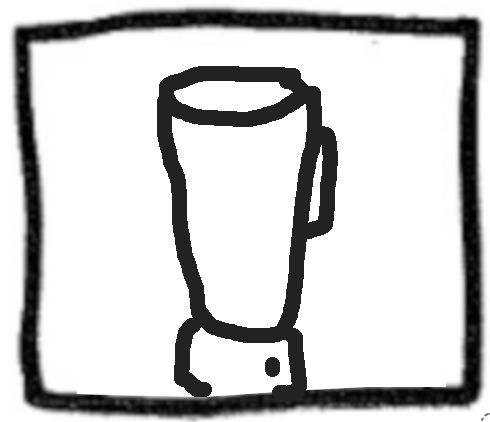
Shot 3: Microwave milk and blend
Framing: Close Up (CU) after microwave
BGM: No background music
Description: Add ingredients, blend and tasteStep 3: Setup your smartphone on a tripod or broomstick
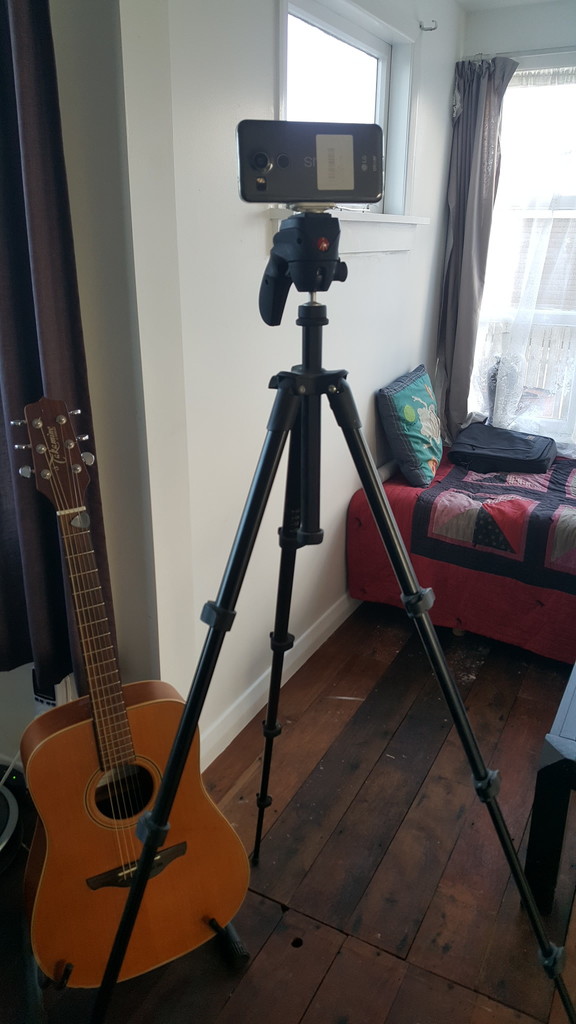
The most important factor to making your video look professional is to ensure the shots are steady. Prepare your first shot by placing your smartphone on a tripod or use rubber bands or tape to hold it to something like a broomstick.
Now film each of the shots and re-position the smartphone as needed. Here's some tips:
- Lighting is really important. If you don't have good sunlight, use fluorescent lights because they are most like sunlight unlike other bulbs.
- Don't worry too much about the stopping and starting when you are recording. Later I'll show you how to cut out the bad bits. However, it is important to have one good consistent take of each shot because we don't want to have to cut a shot in the middle.
- Optional: For faster rendering when you use the video editor, set the recording video resolution of your smartphone to 1080p (FHD: 1920x1080 pixels at 24 or 25 frames per second).
- Optional: If we had multiple Long Shots or Close Ups then we might film these out of sequence so we didn't have the move the camera so much. For example, we might shoot "Shot 1: Introduction" and then "Shot 5: Taste and explain" because the smartphone is already in position and then we'd move the camera do all the Close Up shots next. However, in this case, it's easier to just re-position the smartphone after each shot.
Step 4: Edit Video
To edit our video I'm going to use a free Video Editor that is really easy to use called OpenShot that works on Windows, Linux and Mac. Watch the video below to see how to use it. You can download it from here: https://www.openshot.org/download/
Step 5: Upload and share
Now all you need to do is share your video with the World. Normally I follow this process which is also covered in the instructional video video below:
- Upload the video to YouTube and in the description text link it back to the page on my website where the video will be.
- Then I create a page or a blog and add the video to it.
- After that I share the page on social media so people can read the blog and watch the video.
The reason I do it this way are:
- If you have a YouTube video on your web page you have 50 times more chance of showing up on page one of Google search results
- YouTube gets more daily searches than all the other search engines like Google, Bing and Yahoo combined so if you put a link back to your website you'll get a lot more visitors.
- A good website is designed to convert a visitor into a customer using "sales pathways". Social Media pages and YouTube aren't designed like that so your goal should always be to direct users back to your website.
Resources
- I us a Manfrotto MKCOMPACTACN-BK Compact Action Tripod (Black) which can be purchased from here for around $159
- I also use a smartphone holder attachment like this that costs around $20
- OpenShot Free Video Editor: https://www.openshot.org/download/
- Black Rooster Chai syrup: https://www.blackrooster.co.nz/
View full tutorial on how to make an instructional video (13 minutes 40 seconds):
Watch completed example video (3 minutes 25 seconds):
Here's the video my client created based on this tute (4 minutes 8 seconds):
 About
About
Brynn
